


Professional Starlink Installation: Everything You Need to Know
Starlink satellite internet is a great option for many individuals and families, especially those in rural areas that might not have access to traditional forms of internet access. Installing Starlink at your home requires mounting the dish in an unobstructed way, which often means mounting it to the roof of your home. Without proper experience, tools, and knowledge, this can mean making holes in your roof that will leak. Professional Starlink installation by roofing experts ensures that your Starlink dish is properly mounted to give you access to a fast, uninterrupted internet signal, and also ensures that your roof remains secure and leak-proof. Let’s take a closer look at professional Starlink installation, so you can make an informed decision.
What is Starlink Internet?
First, what is Starlink internet? Starlink is a satellite-based internet service delivered by SpaceX, which gives users access to high-speed, low-latency internet through a series of satellites in low Earth orbit.
Since internet access in this way doesn’t rely on phone lines or cable TV lines, like most traditional forms of internet, and the satellites aren’t fixed in one location, users can access the internet from almost anywhere. This is especially helpful for those in rural areas that don’t have access to major internet providers, usually Charter Communications and Comcast. Or, some may find that the internet service in their area is restrictively expensive, slow, or unreliable. Others may simply like the appeal of satellite internet and prefer its technology and functionality.
Get your Starlink dish professionally installed
Call 1-855-FIX-ROOF today or send us a message online
How Does Starlink Work?
(via SpaceX Starlink)
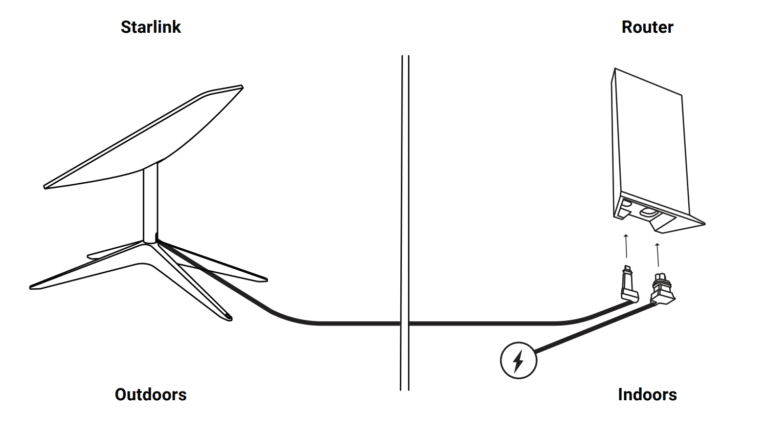
Starlink internet works by connecting to the radio signal reflected by the satellites orbiting the Earth. This signal gets picked up by the satellite dish on or near your home, and delivers that signal to your internet router, which then transmits it to your other devices, usually through a wireless connection. The satellite dish uses a wired connection to the router, and both devices need electricity to run. The dish needs unobstructed access to the orbiting satellites, which usually means pointing the dish in a northward direction (in the U.S.). Since the dish can’t be obstructed by trees or other buildings, the best placement is usually on the roof of your home.
With these devices in place, you can use Starlink internet in your home. However, there are a few important considerations when it comes to the placement and installation of the satellite dish. This is where it can be helpful to work with experienced professionals.
Professional Starlink Installation: How Experts Help
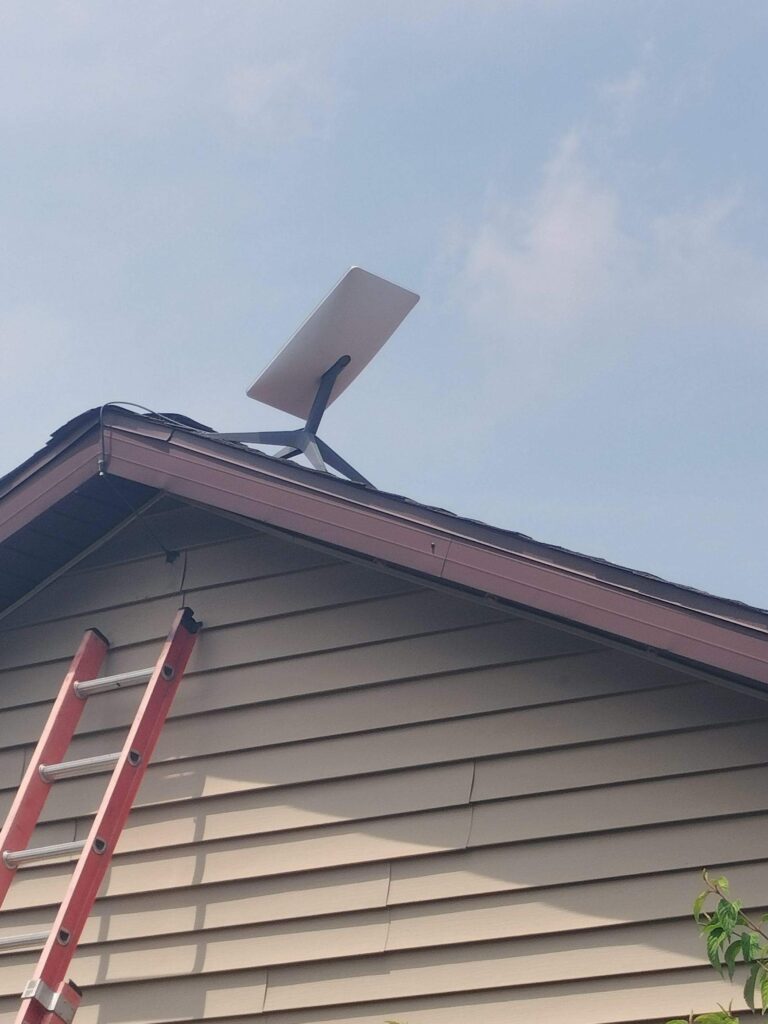
It is possible to install your Starlink dish yourself, and this can be a good option for those with the right tools and experience. However, if you’ve never installed something on your roof before, this can introduce risks to you and your roof. It’s essential to install your dish properly, not only to optimize its functionality, but also to protect your roof from leaky holes or faulty hardware.
We have decades of experience working with roofing, and we’ve installed many Starlink dishes across a variety of homes. Professional Starlink installation with our experts gives you several advantages, including:
- Secure placement: We make sure that your dish is securely mounted to your roof using the proper materials and hardware. We use mounting brackets, baseplates, lag bolts, watertight sealant, flashing and other materials as-needed to make sure your dish stands up to high winds and intense weather.
- Optimal positioning: After installing Starlink dishes on a wide variety of homes, we know how to best orient your dish to give you optimal signal strength. This not only means positioning the dish to best capture the satellite signal, but also ensuring that trees, other buildings, and any other obstructions are out of the way.
- Watertight installation: When installing your dish, it’s important to place screws or lag bolts properly so that rain and snowmelt doesn’t pool or leak. We integrate the dish into the shingles or onto your metal roof properly, using careful placement and flashing and sealants, so the dish mount does not create any vulnerabilities in your roof.
- Safety: No one ever plans to fall off a roof or suffer an injury, but it unfortunately happens all the time. Our experienced workers know how to stay safe, and use proper safety equipment to avoid accidents.
- Saving time and stress: You want your Starlink dish to simply work, and not have to troubleshoot a dozen installation problems. In 1 to 2 hours, our team will have your dish installed and your internet will be ready to use, so you don’t have to worry. You’ll also enjoy peace of mind knowing that your dish and roof are secure.
Get your Starlink dish installed fast and easy, no guesswork or hazards
Call 1-855-FIX-ROOF or get in touch online
Starlink Installation Options for Your Home
(via SpaceX Starlink)
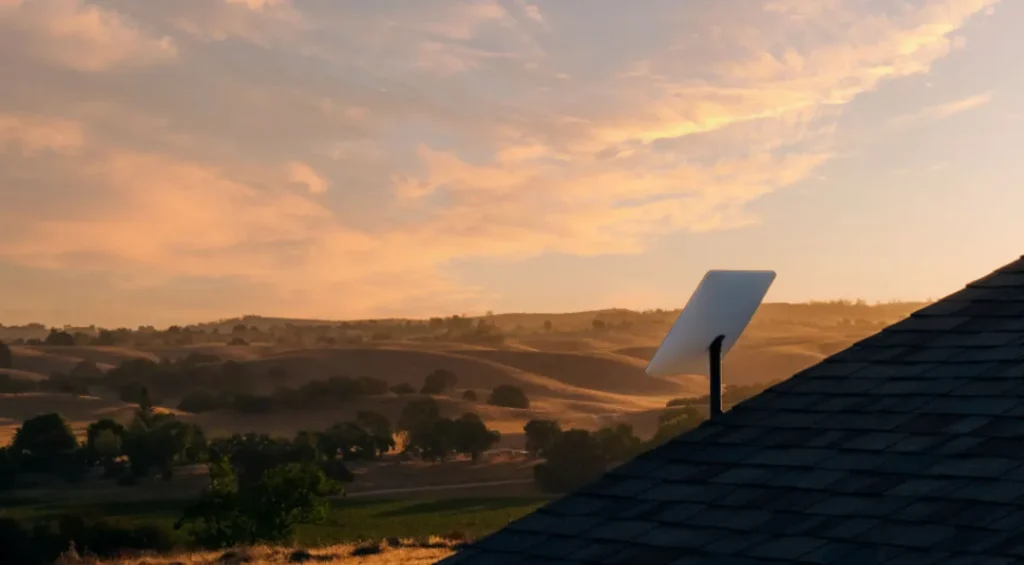
There are several ways to install your Starlink dish, and which method is best depends on the type of roof you have, the mounting placement and positioning required to maximize your signal strength, and the best positioning to connect your dish to your router. We generally use one of two methods to make sure the dish is both securely and optimally placed. Regardless of which method is best for you, you can be sure that your home is protected from leaks and your dish is safely mounted.
Here are two options we commonly use to install Starlink dishes:
- Bracket stand: We mount a bracket stand securely to the roof using lag bolts. We then run a cable through the attic which can then connect to your router. This option comes at a standard charge of $500, with an estimated installation time of 1 to 2 hours.
- Roof mount kit: We use a roof mount kit, which involves removing shingles and flashing around the mount to direct water away from the area. The drilled hole is strategically positioned under the box to keep wires hidden, resulting in an elegant and discreet installation. This method is priced at approximately $750 to $800, with an estimated installation time of around 2 hours.
We can explain each of these options in more detail, and make sure you have all the information you need. Regardless of your choice, CS Roofing Company ensures a seamless installation process. You can rest assured knowing that your dish is safely, securely, and professionally installed by roofing experts.
Get Starlink Internet Professionally Installed in Mid-Michigan
If you’re in Mid-Michigan and you’re interested in professional Starlink installation, give us a call at 1-855-FIX-ROOF or call any of our regional offices in Hillsdale, Lansing, Battle Creek or Jackson. We can walk you through the steps, discuss the installation process, and set a date for installation. In just a few hours, your dish will be installed and you’ll be online in your home.
Tags: